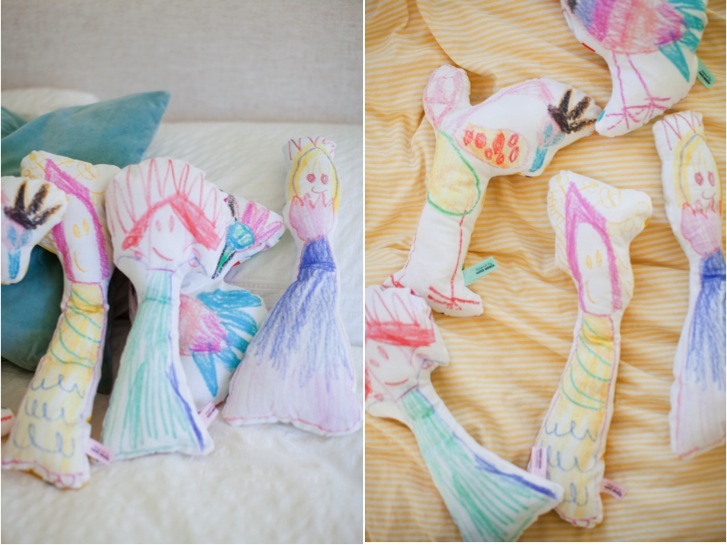
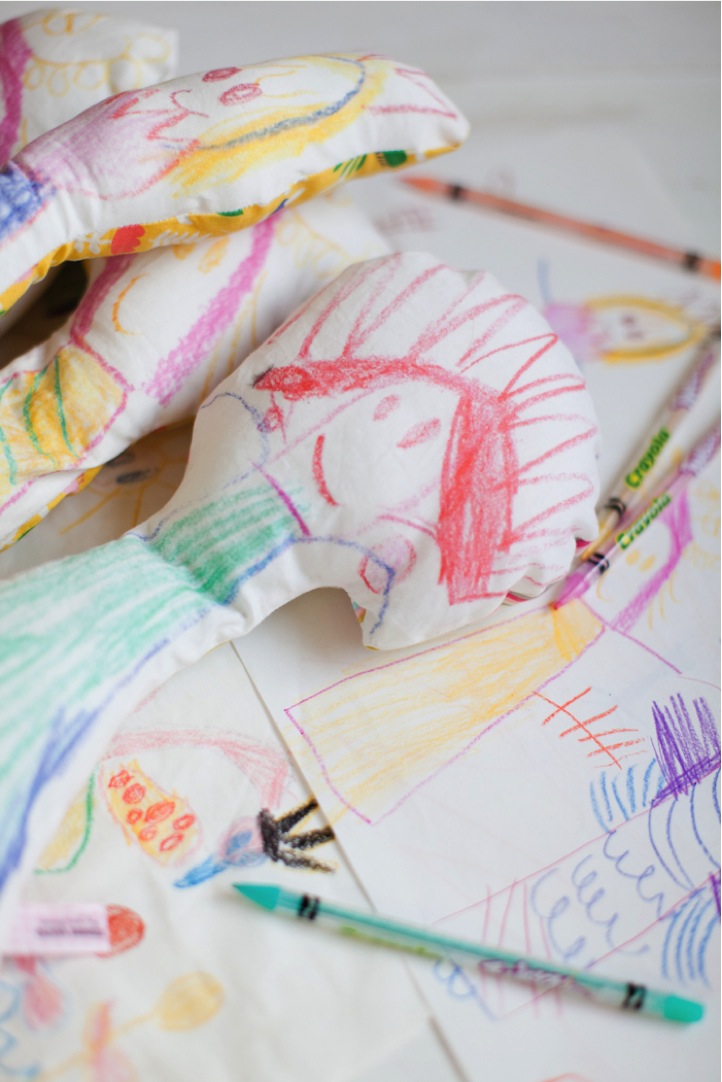
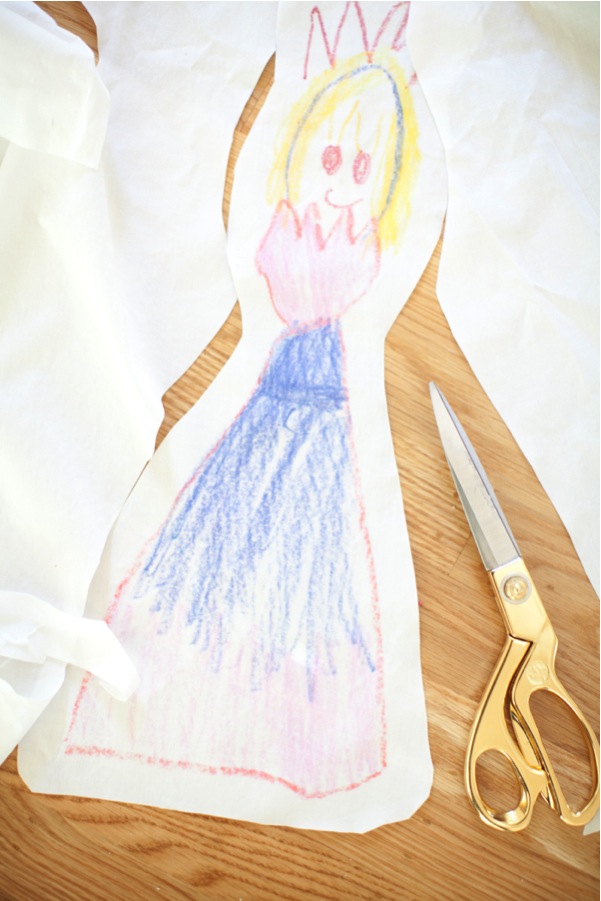
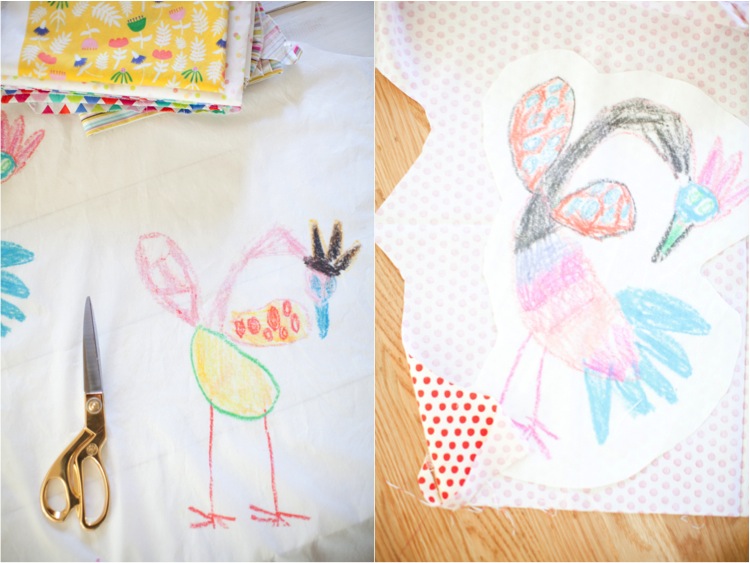
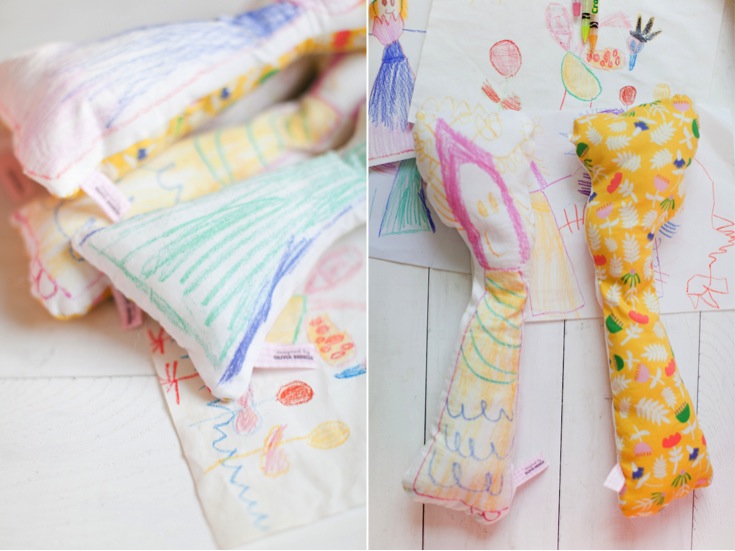
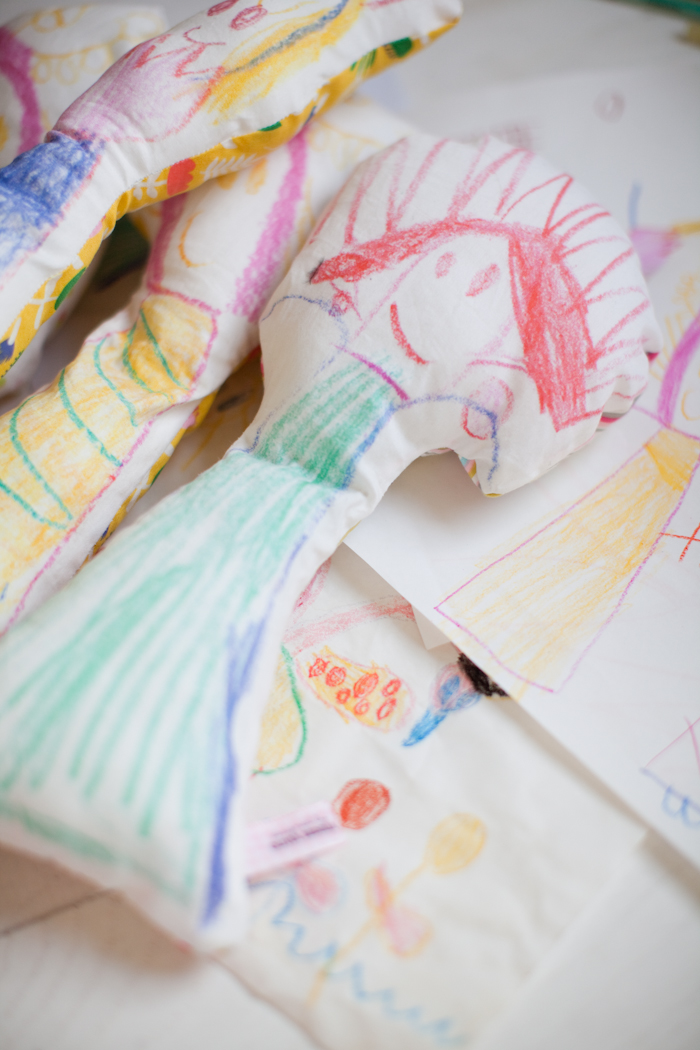
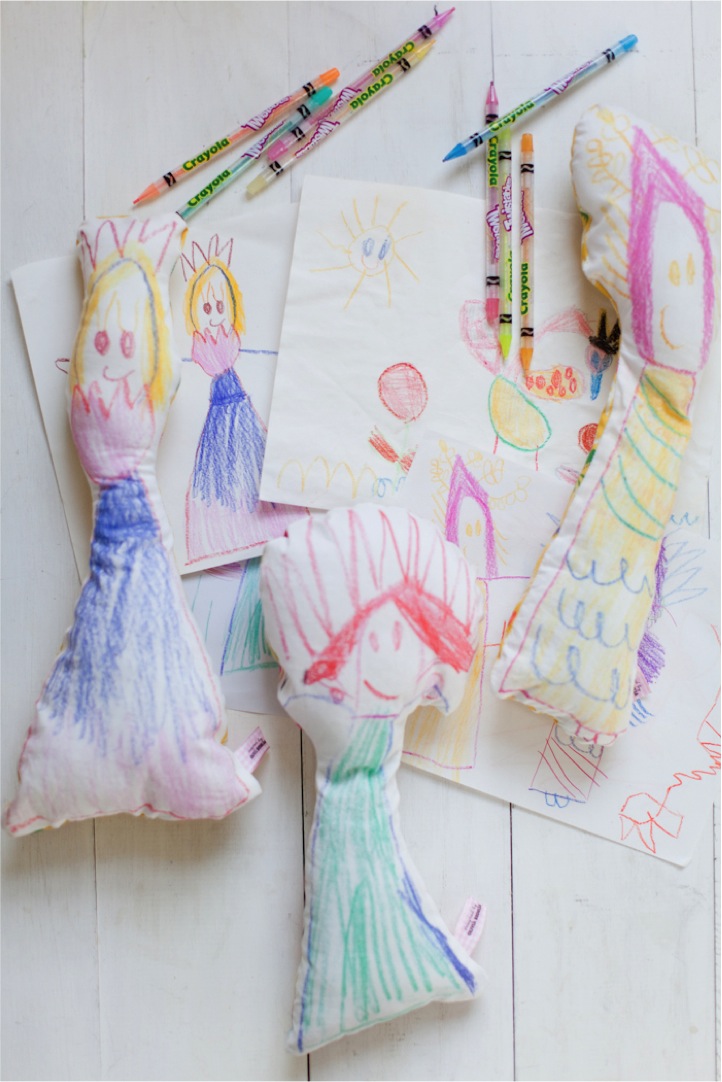
 This post was written in partnership with Spoonflower. They provide the custom doll fabric that I used to make the dolls from Olivia’s drawings.
For a while now I’ve been trying to think about what to do with the girls best drawings – I really hate to see these pretty pictures pilled up in the box….because let’s be honest, friends, given the industrial amount of drawings the girls make there is no way I can proudly hang them ALL on the wall. Our walls just don’t have that square footage ![]() I’ve also been wanting to show the girls the many ways that our imagination can come alive, how their pretty pictures can become so much more.
I’ve also been wanting to show the girls the many ways that our imagination can come alive, how their pretty pictures can become so much more.
A couple months ago I was playing around on Spoonflower trying to design my own fabric (more on that later I promise!), and it hit me – I realized I could easily just print some of their best drawings on fabric and sew little dolls out of them! Olivia’s birthday was coming up, and I thought these would make awesome party favors for all of her friends.
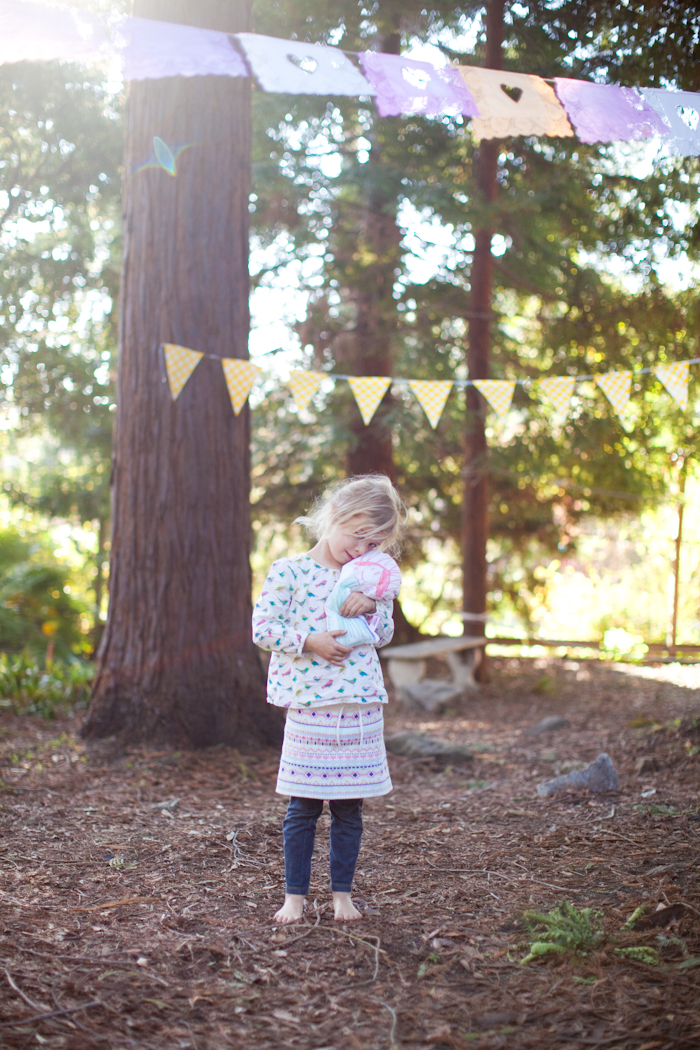
When I told Olivia the idea she was SO excited! The result = awesome! All of Olivia’s friends LOVED the dolls and Olivia is already planning which dolls she wants to make next for her friends birthdays – and Madeline is asking for some for her friends too!
Making these little dolls was definitely a learning process for her and me! When we first got the fabric with her princesses and swans, she looked at it puzzles and said: “But mama, these are flat! I thought you said we were making dolls?” It was amazing walking her from the process and the different steps, for her to see her drawings come to life! The girls helped with as many steps as they could – their favorite part was stuffing the dolls ![]()
If you want to make your own dolls, below is a detailed. I broke it down into three parts: 1) Scanning your kids drawing – which is super useful if you want to print your kids drawing in a book or just save a digital copy of them, 2) designing the doll fabric and 3) sewing the dolls. Have fun!
WHAT YOU NEED
- Scanner
- Computer with photoshop & internet connection
- custom doll fabric from Spoonflower – this tutorial shows you how to make/order it.
- Fabric for the back of the dolls – this project is perfect to use leftover fabric from other projects!
- Sewing machine, neddle and thread.
- Batting
- Option: Ribbon and transfer paper to make labels.
WHAT YOU DO
Scanning your kids’ drawings
1. Pick some of your kid’s best drawings and scan them at high resolution (ideally 300 dpi). Don’t worry if your child drew other things on the page, I’ll show you how to deal with that.
2. Open the scanned drawing in Photoshop. You might have to rotate the drawing in case it’s upside down, in that case go to Image > Image Rotation > pick the rotation that you need.
3. Next step is very important: you want to make the background of the drawing as white as possible. There are two ways to do that, for best results I usually do a combination of both of these methods.
Method A: Play around with the levels of your drawings. Go to Image > Adjustments > Levels…
You will notice three pointers right below the curve. Grab the pointer that the most to the right of the levels curve, and slowly drag it towards the left. You’ll see your drawing progressively become brighter. Them, play around with the pointer that’s at the very left below the curve and drag it slowly towards the right. Once you’re happy with the image, try and move the middle pointer a bit to see if you want to change the contrasts at all.
4. Once you are happy with the results, click on OK. The background is probably all white now, but if you still notice some tan/beige lines from when you scanned your document (sometimes these are easier to notice for me if I tilt my screen a different angle), you can play around with method B. Go to image > Adjustments > Replace Color.
With the color selection tool, click on the color you want to change – in this case, the beige/tan spots. Set the fuzziness anywhere between 25 and 40 (but no more than that or you’ll start loosing details), and then move lightness all the way to 100. Before you click on OK, you can play a bit with the fuzziness until you get the best results. Once you’re happy with it, click OK.
5. Save your scanned drawing. I have a folder for each of my girls and save up their art as they make it….not sure what I will do with all of that, but it’s so nice to have a digital copy of my favorite drawings of theirs!
Preparing and ordering your custom doll fabric
1. I know this step might be intimidating to you, but really it’s super easy! Create the file which you will use to print your custom fabric. I made mine 42 inches wide by 36 inches (one yard) long because I wanted to order the cotton fabric from Spoonflower. Resolution should be 150 or 300. PS: Spoonflower prints on many fabric type – you can check them out here, and it will give you also the width of each fabric when they get printed out. For example, if you want to print on the eco canvas (one of my fav!), you’ll have to set the width of your file to 54″
2. With the selection tool, select the part of your drawing that you want to make the doll, and copy it and paste it on your new file. Paste your drawing on to the fabric. You can make it smaller if you want, but don’t make your drawing much bigger than it is or you’ll end up with a doll that is all pixelated.
3. With the eraser tool get rid of anything extra in the drawing. If there are any tan spots left from scanning, you can also get rid of them then. I asked my “creative designer” if we should get rid of the parts where she went outside of the lines, and she said yes so we got rid of these too ![]()
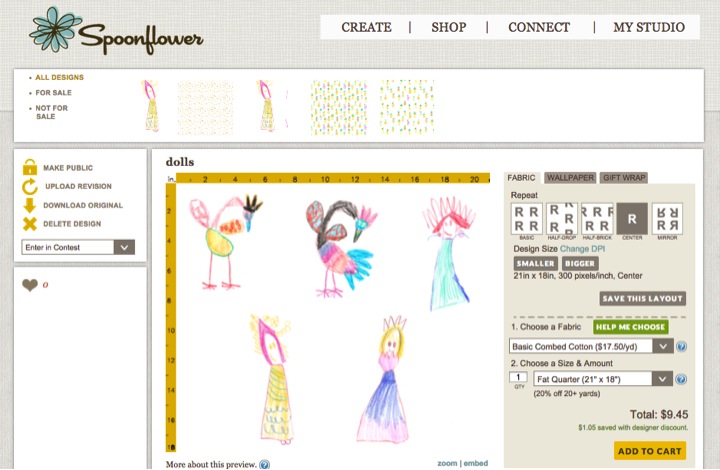
4. Repeat these steps as many times as you need to add other drawings to the fabric – you’ll end up with one layer per character. Make sure to leave enogh space around (at least 1 1/2 inch) for sewing. I printed 5 different dolls on the fabric, ad the dolls were quite big but we could have printed many more if I had made them a bit smaller.
5. Save your image twice, once as a photoshop file so you can go back to the layers and make changes whenever you need, and save it a second time as a high res JPEG – you will use this file to order your fabric.
6. Go to Spoonflower.com and upload your JPEG in their upload tool. Once it is uploaded, you can play with the repeat and size of your design. For this you’ll want to pick the no repeat box – 4th one. It will give you the preview of your fabric. If you are happy with it, pick the type of fabric (again, some fabrics are wider than 42 inches so watch for these!) and how many yards you want, and place your order. The fabric usually arrives at my door within one week of ordered.
Sewing the dolls.
1. Cut around each character on your custom fabric, leaving 1 and 1/2 inch all around it.
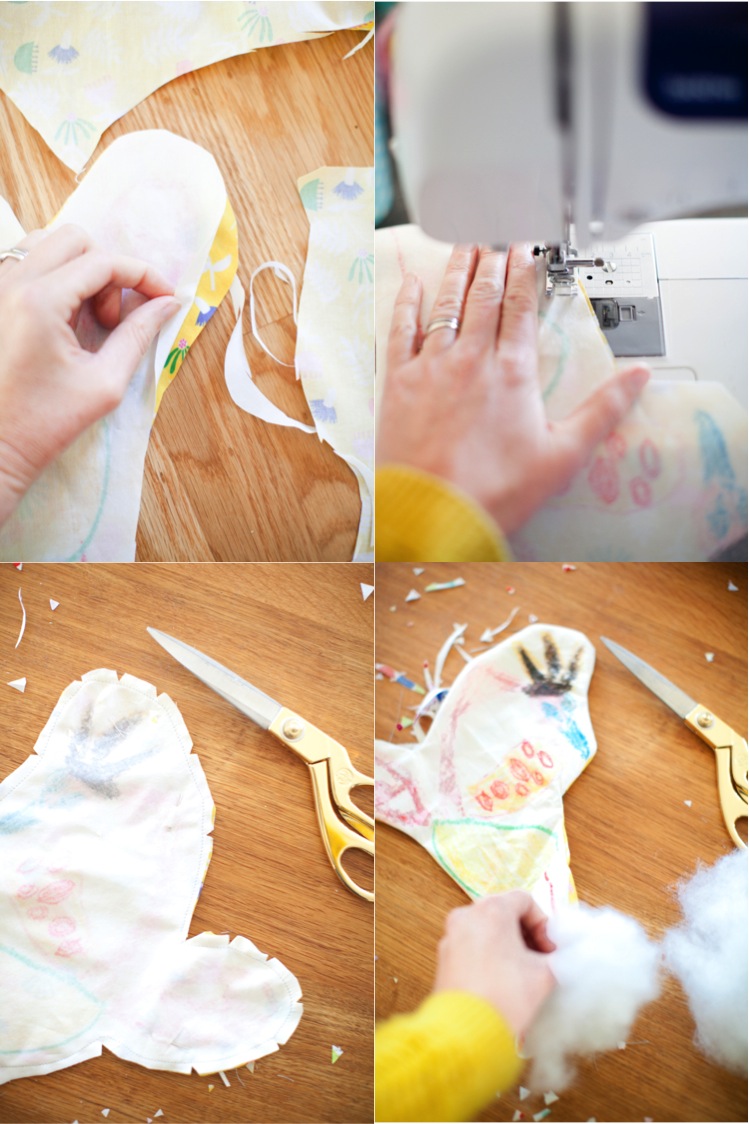
2. Match each doll with fabric of your choice for the back of the dolls – I used a mix of fabrics I had on hand. Place the doll back to back with the fabric and cut around to match the shape.
3. Flip the two pieces of fabric front to front and pin in place. PS: If you are an experience sewer, you can directly pin your back and front fabric together and then cut them to save time. I was afraid I wouldn’t cut the dolls right if I did that ![]()
4. Optional: I added little tags on the dolls that said “design by OLIVIA BEDELIA” to make her extra proud of her work ![]() I made these tags using ribbons and used transfer paper to write the label. Then, I pinned them inside where I wanted them to be – the text against the front of the doll….sorry, I don’t have a picture of that step so hopefully that’s clear, but if you have issues with it just email me
I made these tags using ribbons and used transfer paper to write the label. Then, I pinned them inside where I wanted them to be – the text against the front of the doll….sorry, I don’t have a picture of that step so hopefully that’s clear, but if you have issues with it just email me ![]()
4. Sew a 5/8″ seam all around the doll, leaving an inch opening at the bottom of the doll so you can flip the doll inside out and stuff it. Before turning your fabric inside out, cut little triangles whevere your fabric curves – so that your fabric doesn’t wrinkle at the curves.
5. Once you doll is all stuffed, close the opening by hand-sewing it shut. Voila, you are done!
Disclaimer: This post was written in partnership with Spoonflower. They provide the custom doll fabric that I used to make the dolls from Olivia’s drawings. No compensation was received.
