I’d been wanting to play with double-exposure photography ever since I saw this amazing image by Jose Villa. I immediately fell in love with it and have loved following the work of artists like Von Marcus or Jon Duenas. I loved the dreamy side of pictures that are double-exposed.
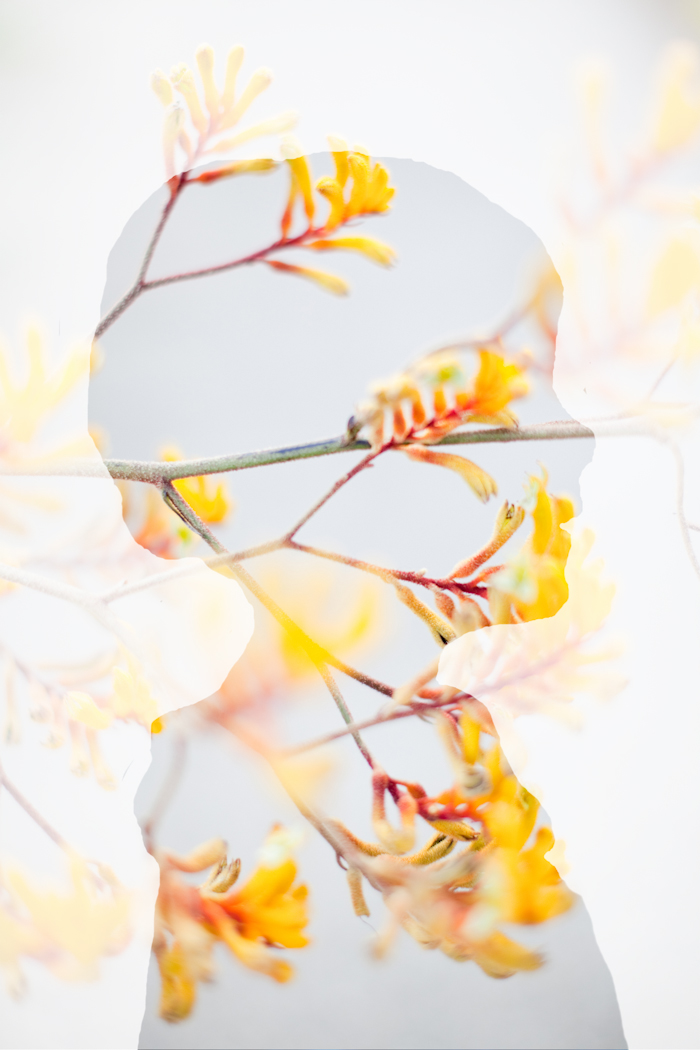
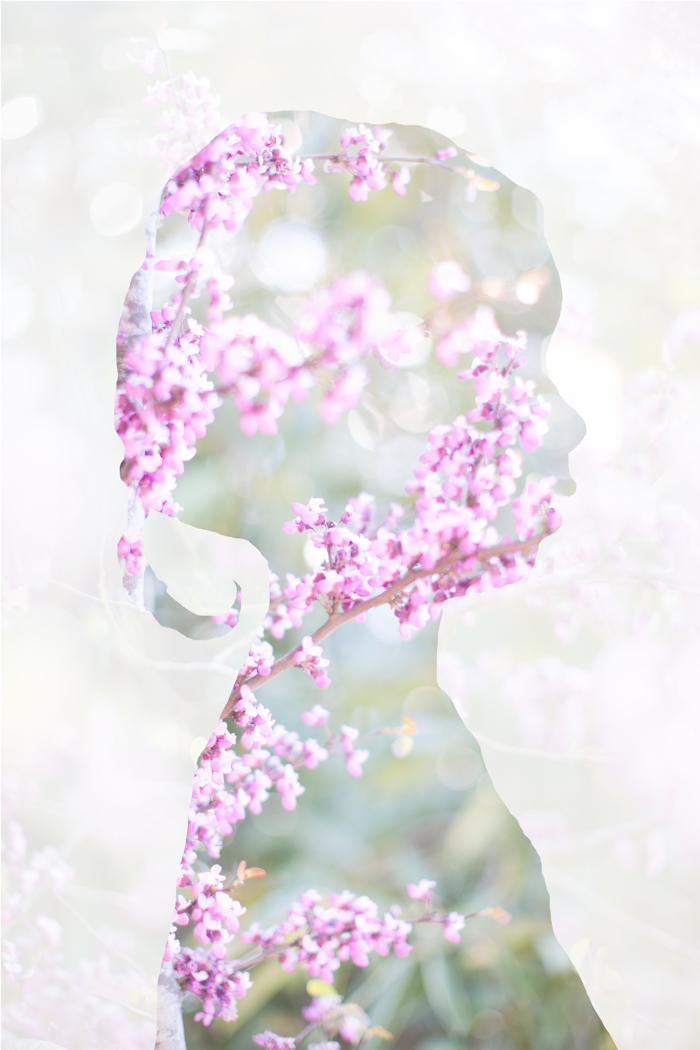
A couple months ago I was asked to do the girls’ school auction art project game me the perfect opportunity to play around with double-exposure.Double exposure photography can be achieved either with traditional film, or through digital photography and post processing – which is actually pretty easy. I decided to make silhouettes of all of the kids in the class, but with a modern twist by double-exposing them with pictures of plants and flowers that grow around here. Nature has been exploding in California these past few weeks, so much beauty at every corner.
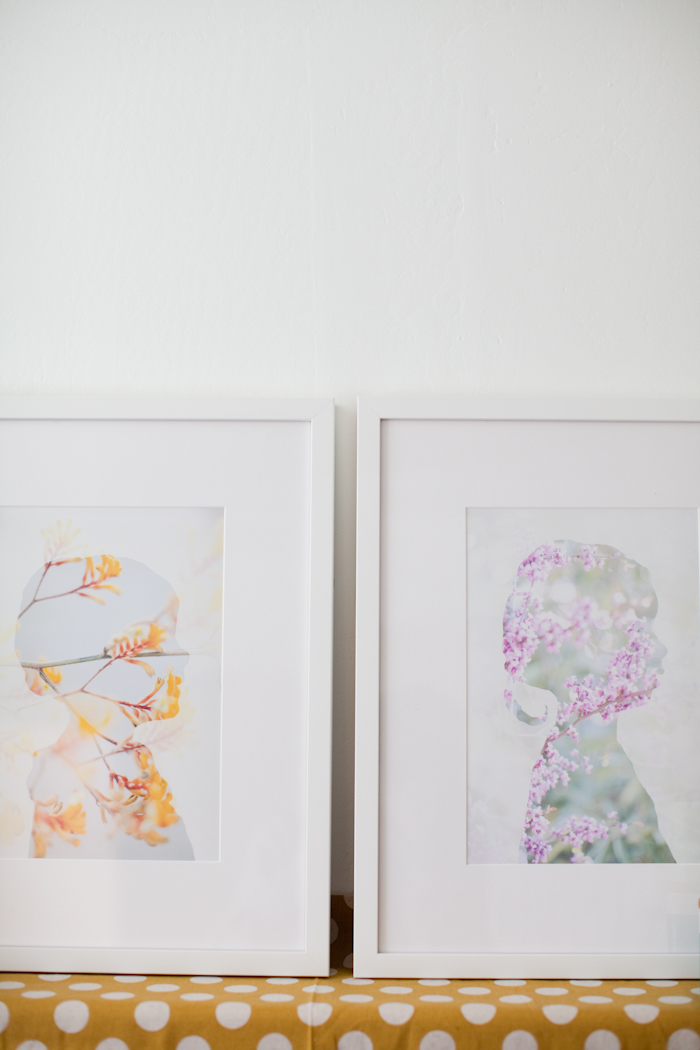
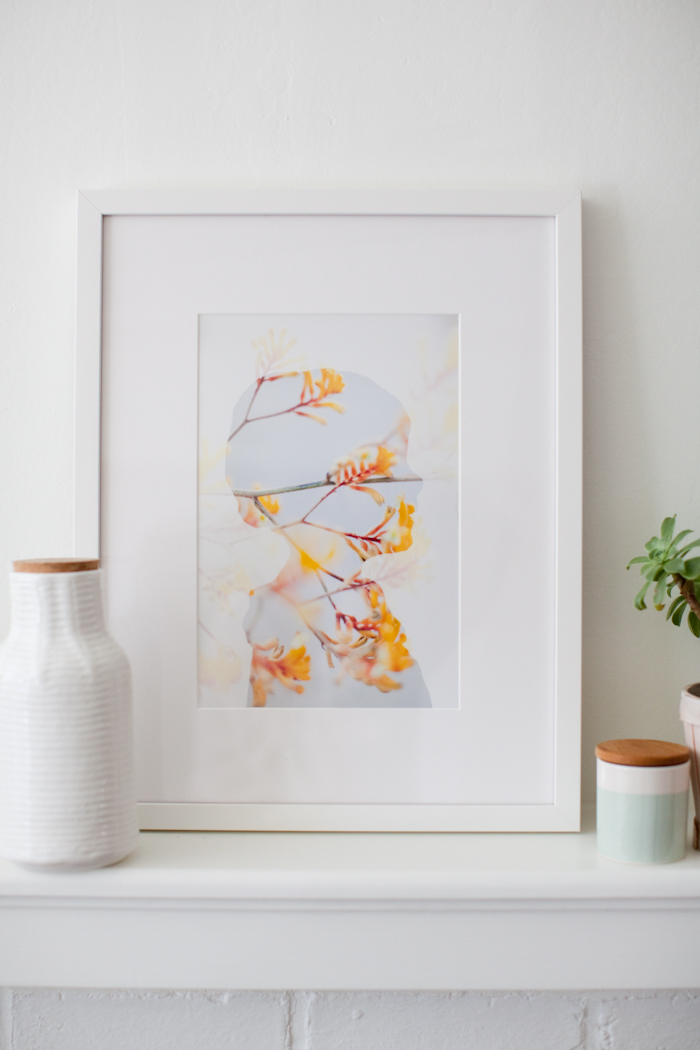
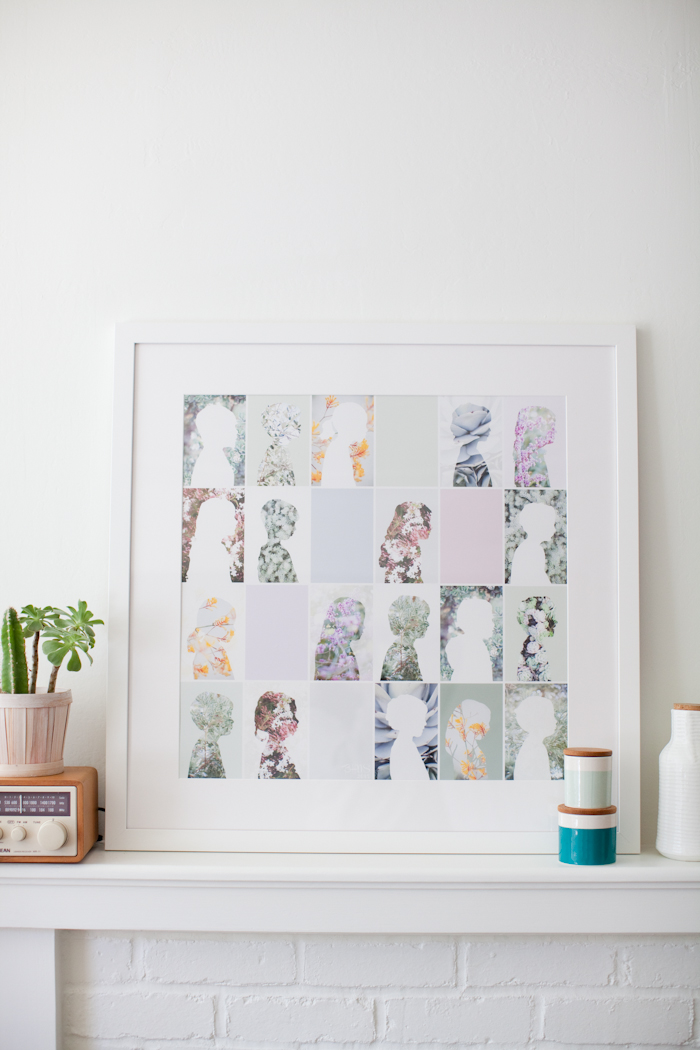
Here is the end results of what I made for the art auction – a collage of all of the kids silhouette. I mixed up the double-exposure in the collage to make it a bit more interesting visually – and I used online-company Framed and Matted to custom frame the prints. Everybody at the action loved it…well, at least they said they did….hopefully they weren’t just being nice ![]() We sold the collage for a good amount of money, and parents also got the option to buy an individual print of their child’s silhouette.
We sold the collage for a good amount of money, and parents also got the option to buy an individual print of their child’s silhouette.
If you have photoshop, this project is so simple to put together and I absolutely love the end result. If you don’t have Photoshop but still want to try this out, you can download a free trial on their website!
HOW TO
1. To be able to put your double-exposure image together, you will need to plan it out a bit and think about what you want the end results to look like. You will need to chase the images you want to use ![]() For the silhouette, make sure you take the picture against a bright background that contrast with the person and clothes (for example, you can use bright green or bright blue paper). This will allow you to easily remove the background in photoshop later on so you can keep the silhouette only.
For the silhouette, make sure you take the picture against a bright background that contrast with the person and clothes (for example, you can use bright green or bright blue paper). This will allow you to easily remove the background in photoshop later on so you can keep the silhouette only.
2. Import your silhouette picture un photoshop and make sure to turn it into a smart object. Choose Layer > Smart Object > Convert to Smart Object.

3. Next is deleting the background. Go to Select > Color range. Then click on the background color, set fuzziness to 30 and click ok.All of your background will be selected. Click on your delete button and all that should be left is the actual silhouette.
4. Import the image you want to use for the double-exposure as another layer – make sure it is right above your silhouette layer. Right click on that layer and choose Create Clipping Mask.

5. For the background, make another layer with the same image – or use yet another image if you’d like, or create a layer with a simple color background. I set the transparency of that layer to about 20% or so as described below. Also, I often add a white layer just to make sure I have a better idea of what the final image will look like.

I hope this all made sense! If not, feel free to ask questions in the comments! And if you are interested in making double-exposure photography and don’t have photoshop, apps like Image Blender or Little Photo are great to combine photos.
Credits: All photography by Audrey at This Little Street. Custom frames by Framed and Matted.


