
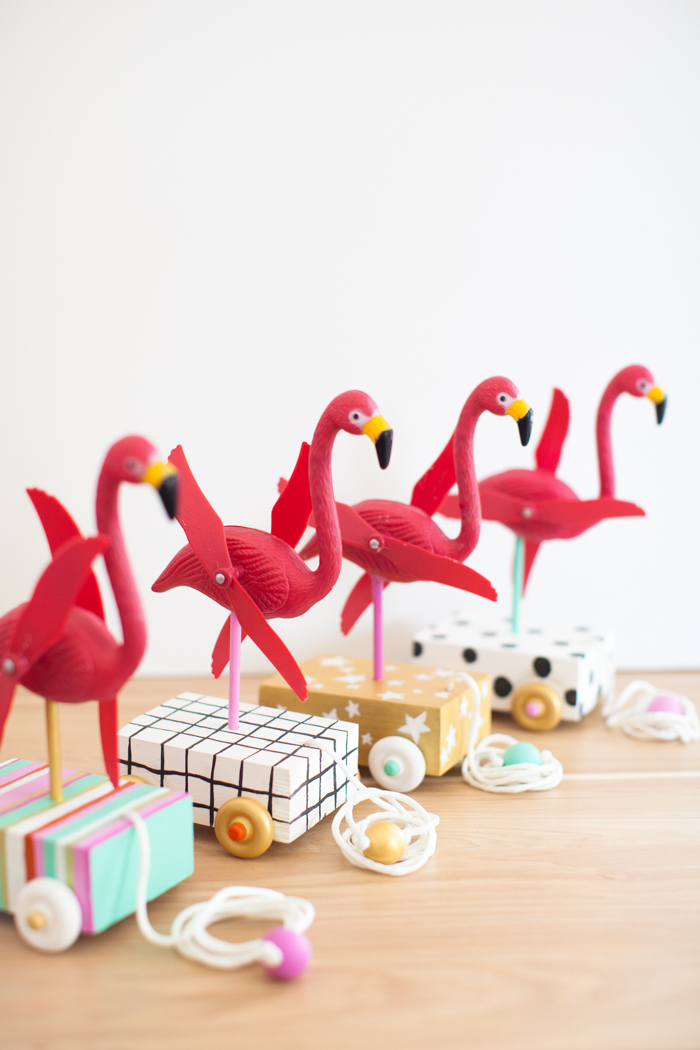
Flamingo frenzy continues (have you entered our amazing flamingo troller giveaway yet by the way?!) – meet the flock ![]() Your little ones are going to love pulling these DIY flamingo pull toys around the house! They are so fun and their wings flap in the wind if you take them outside for a stroll.
Your little ones are going to love pulling these DIY flamingo pull toys around the house! They are so fun and their wings flap in the wind if you take them outside for a stroll.
When I received our flamingo stroller for Freia last week, the girls totally rolled their eyes and screamed how unfair it was that Freia gets all of the cool flamingo stuff. I told you, flamingos are a high commodity around this house! So I decided to make all of the girls these little flamingo pull toys that could tag along when we go on a stroll. Flamingos gotta stick together, ya know? ![]()
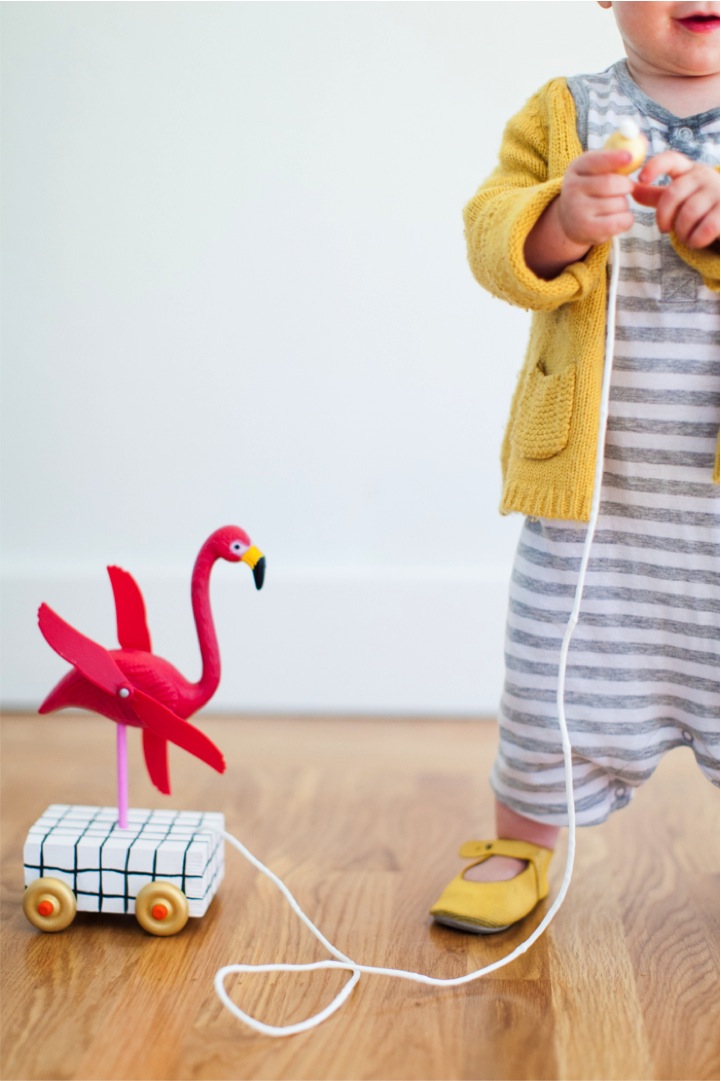
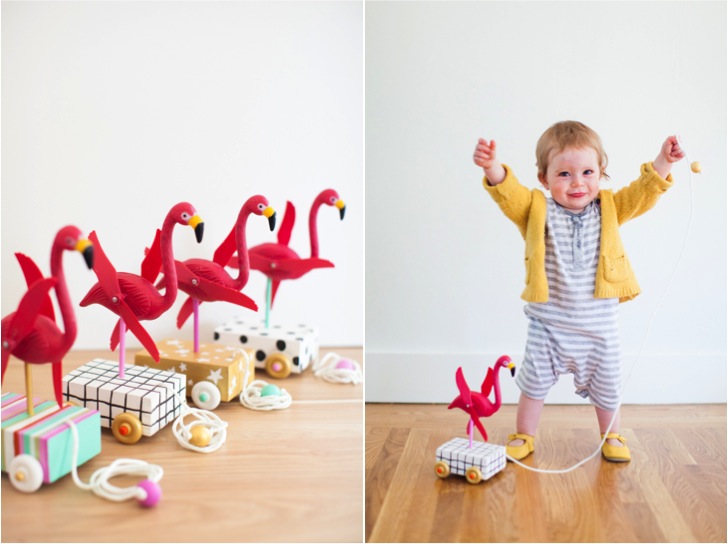

These little guys have pretty much been going everywhere we went since I made them! They are surprisingly easy to make and I am pretty sure they will win you Best Parent of the Year award if you hand them out to your littles….or something like that ![]()
What you need
- mini flamingo lawn ornament
- I love how the wings flap when there is wind outside
![:)]()
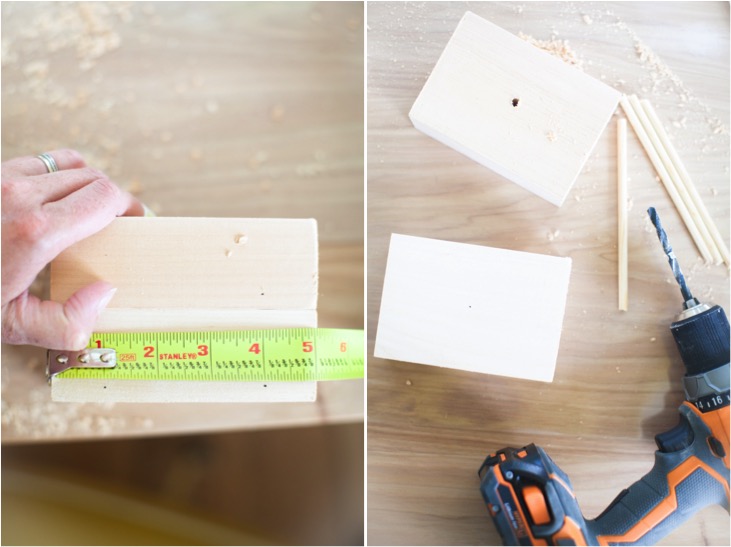
- Wood block size 3.5x5x1.5 (I used 3.5x10x1.75 block I bought at Michaels and just cut them in half)
- Wood dowel that will fit in the whole under your flamingos – I used a 0.25inchx36inch dowel from Michaels that I cut into 5 inch pieces.
- wood wheels
- wood axel pegs
- wood bead
unfinished, 1 inch diameter or more.
- white nylon cord
- acrylic paint
- polyurethane
- brushes
- gap filler insulating Foam
- wood glue
- drill and 1/4 drill bit
- fine sand paper


 unfinished, 1 inch diameter or more.
What you do
1. If you haven’t done so already, cut your wood block and dowel to the right dimensions. Sand to remove any wood chips.
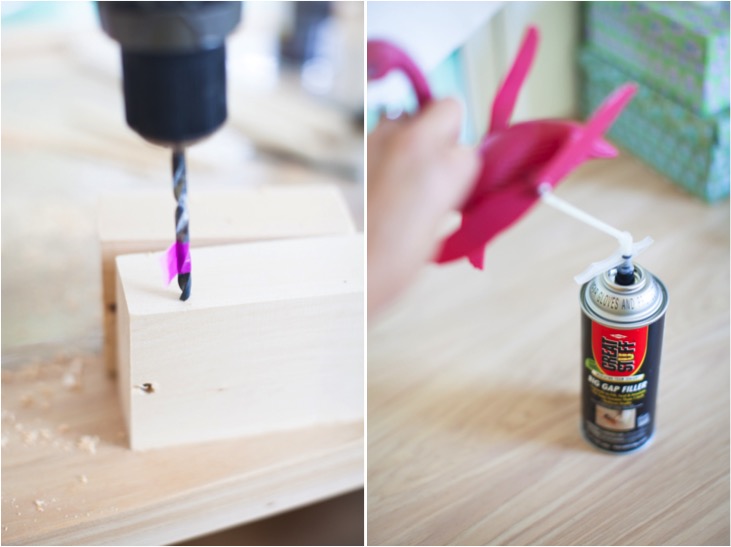
2. Drill a whole in the center of your block using a 1/4 drill bit. You want your whole to go in about 1 inch to 1.25 inch. I marked my drill with a piece of washi tape so that I would drill that deep consistently. Make another whole at the front of your block, drilling all the way through your block – in that whole you will thread the cord. Sand around the wholes to remove wood chips.
3. On the long edges of your wooden block, about an inch from the ends, drill the wholes for the axels. You will want to go about 1/2 deep or so. Sand around the wholes to remove wood chips.
4. Paint your block, dowel, wheels, axels and wooden bead for the handle- you will need 2 to 3 coats of paint. Decorate with a fun pattern if you wish! Let dry.
5. Protect the wood pieces you just painted by applying polyurethane – you will need to apply 3 coats. This will make sure the paint doesn’t get scratched up….you know you’re little ones are going to be rough with them flamingos ![]() Follow instructions on your polyurethane carefully.
Follow instructions on your polyurethane carefully.
6. Add a few drops of wood glue in the whole you made for the wood dowel, and insert the dowel in place. Repeat the process with the few drops of glue to set the wheels of your toy in place.
7. Time to set your flamingo in place: take off the little cap at the bottom whole of your flamingo, insert gap filler insulating foam in your flamingo and then set the flamingo on your dowel! Be carefully not to put too much foam in your flamingo as it will expand a lot after your fill! You want to fill less than 50% of your flamingo with foam. I just do little at a time. It will take about 15 minutes for the foam to harden and your flamingo be set in place – so make sure it’s at the right angle/direction during that time or you won’t be able to move it later on! Let your toy set for another 8 hours after that just so the foam completely hardens.
8. Thread a long piece of cord (1 foot or more) through the whole that your drilled at the front of your toy, tie a knot under the block and attach the wooden bead on the other end of the cord using tight knots – very tights so they don’t come undone!
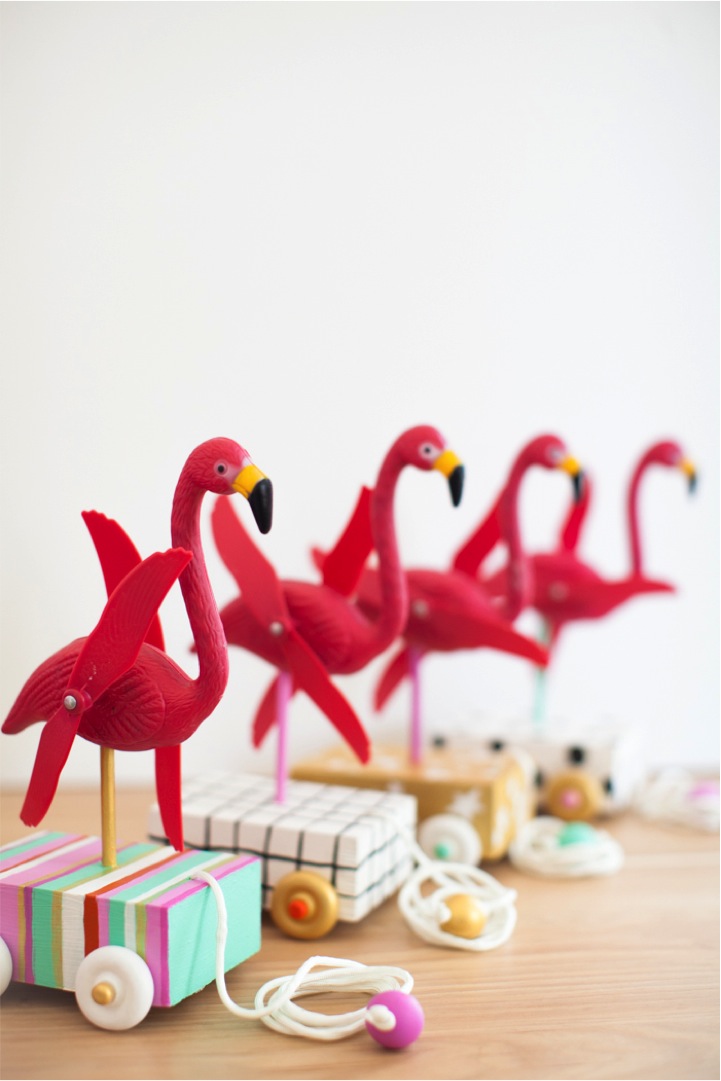
9. Voila, your DIY flamingo pull toy is ready ![]()
You might also like:
The post DIY flamingo pull toy appeared first on This Little street.


